Is it ideal to dehydrate foods?
…YES! Is the (tasty) answer to this culinary question and there are many reasons why dehydrating food is a brilliant idea. One of them being it’s an awesome way to pack light and still have delicious meals on your adventures. Even if or your not travelling, they’re still great just to heat and eat at home
I’m not going to overwhelm you with ALL of the best foods to dehydrate that are available, or the technical jargon and study findings of commercially dehydrated food (which by the way do differ from food dehydrated at home), but instead I want to focus on how you can dehydrate MEAT, CHICKEN, FISH, FRUIT, VEGETABLES, PASTA & RICE and then reconstitute (re-hydrate) these foods to use in whatever delicious recipes you can conjure up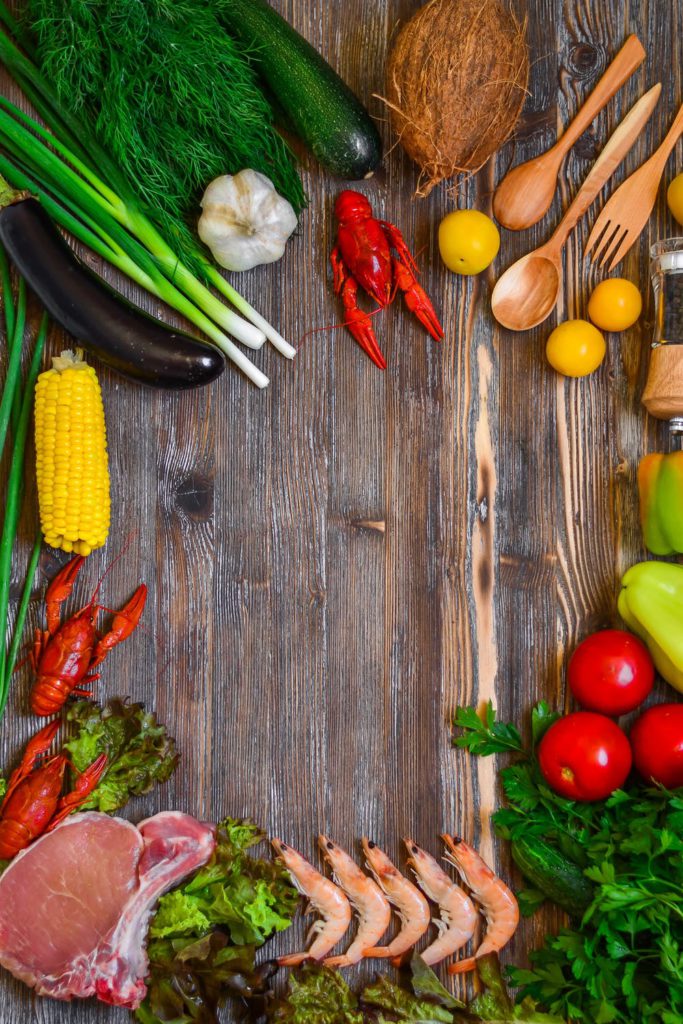
I’ve also put some handy tips and product reviews at the end to help you out
But first let’s start from the start...
What is Food dehydration?
Put simply, food dehydration is a method of preserving food by evaporation (removing its water content). This process impedes the growth of bacteria, mould and yeasts which are the primary causes of food “going off”. It’s debatable when and where the idea originated but it is a practice thought to have been in use since from around 12,000 BC in the middle east and Asia. There are a few age-old methods still used to this day such as “air drying” and “smoking” natural foods and whilst there are other methods used to preserve foods, dehydrating is the most cost effective and can be performed on the widest variety of foods

The benefits of dehydrating food
PRESERVING – Once the dehydrating process is complete, the food can be stored with a much longer shelf life than in its original state (specifics are below in “The best foods”) and some food types can be consumed in their “dried state” or be reconstituted (re-hydrated by adding back the water) at a later date which restores the food (almost) to its original state. It’s kind of like you hit the “pause button” on its ageing process 🙂
STORAGE – Once your food is fully dehydrated it will decrease a great deal in size which is beneficial for packaging and storage. You will save a heap in storage space! The best storage methods are to place the dried food in airtight containers, jars and zip lock bags if you want to have easy access to it and use it frequently or if you want to store food for longer periods of time then vacuum sealed bags and jars are the way to go
COST EFFECTIVE – Dehydrating your own food at home is a much more affordable than buying the equivalent at the supermarket but not only that, you can dehydrate excess food that you might have otherwise thrown out or ended up composting therefore saving big bucks after a short while. Some will argue that it will cost more to run a dehydrator but the math has been done on this and assuming you use a good quality, temperature controlled dehydrator (and preferably not your oven) then you will still come out in front (yes, even factoring in the cost of the dehydrator after several uses). Its a WIN/WIN situation
QUALITY – You have more control over the quality of your food. Say for example you feel like some jerky, you will have control of choosing the type and quality of meat (eg. high grade, grass-fed, round beef if you wish) to make your jerky from as opposed to buying some WAY expensive, over processed, unhealthy version of what I call “Jelly meat” that some producers put out on the market today with “who knows what” quality of meat and other stuff is in it. The same goes with your fruit and veg. You can opt for the cheap frozen veggies to dehydrate (unflavoured or flavoured) right through to fresh organic produce. You have the power to choose what quality to use
THE BEST FOODS
Whilst there are countless foods that can be dehydrated, I want to break it down to what food types are the easiest to prepare and are most favourable to take on your outdoor adventures
Now, correct me if I’m wrong but I reckon there’s not many of us that don’t eat any (If not all) of the following food types: MEAT, CHICKEN, FISH, FRUIT, VEGETABLES, RICE & PASTA. So below I’ll give you an overview and some tips on the best foods to dehydrate. And although this is not a recipe article, I encourage you to get creative with the following foods by mixing and matching and add some herbs, spices & sauces to make your own pre-packed meals and snacks for when your “on the go” or just for home
NB: When doing “whole foods” Remember – FRESH IS BEST!
BEFORE WE GET INTO IT
- Always ensure that your prep area is nice and clean along with your dehydrator (and trays)
- Make sure that your dehydrator is in an open area to enable good airflow

- Be sure to wash your hands thoroughly before food prep. Some people even wear kitchen grade latex gloves to avoid bacteria and any moisture transfer when turning and packaging their finished product
- Make sure your food is clean
- Try to keep your food spaced apart where possible on your trays. Obviously this can’t be done with food such as rice but still try to keep food “thinned out”. This goes for slices of food too. The thinner and less bulky the food pieces, the quicker and more evenly they will dehydrate. Space larger foods out as much as possible to allow maximum airflow
MEAT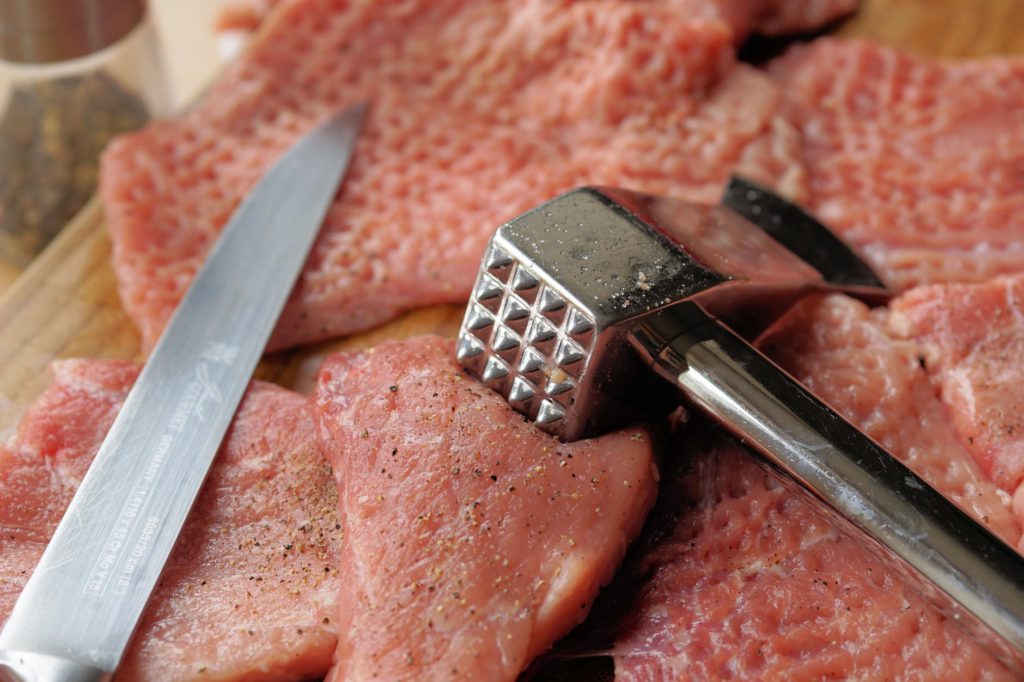
I highly recommend using QUALITY LEAN MEATS that are as fresh as you can get with. ANY MEAT (Beef, Pork, Venison, Turkey, Kangaroo, Chicken, etc.) can be dehydrated but the TIP is to use lean meats and extra lean ground/minced meats. Always trim off excess fat if doing meat strips as the fat does not store well and will spoil the meat in a short time
Remember, meat has microorganisms that can become harmful to us if the meat is not refrigerated or handled correctly. Trust your intuition (and your eyes & nose) when it comes to food, especially meat. TIP: When in doubt, throw it out!
Meat, whether it is raw for making jerky or cooked ground/minced should ideally be dehydrated at approx. 71°C (160°F) as this is regarded a safe temperature to eliminate bacteria but the dehydrating time will vary anywhere between 6-40 hours (sometimes more). It all depends on the type of meat and its water content, the amount to be dehydrated, humidity and the type of dehydrator. But don’t worry, you will soon get used to how long things take to dehydrate and in my opinion, dehydrating is way more rewarding than simply cooking something
I won’t cover the topic of Jerky in this piece as I believe it deserves an article of its own (if your a fan of Jerky then you know what I mean) so check out a few tried & tested (not to mention freakin’ delicious) “homegrown” recipes in the article homemade jerky recipes (Psst… They’re not only beef jerky recipes either)
Be sure you research the particular type of meat you want to dehydrate as only the more “common types” are covered here. Ok, let’s push on…
BEEF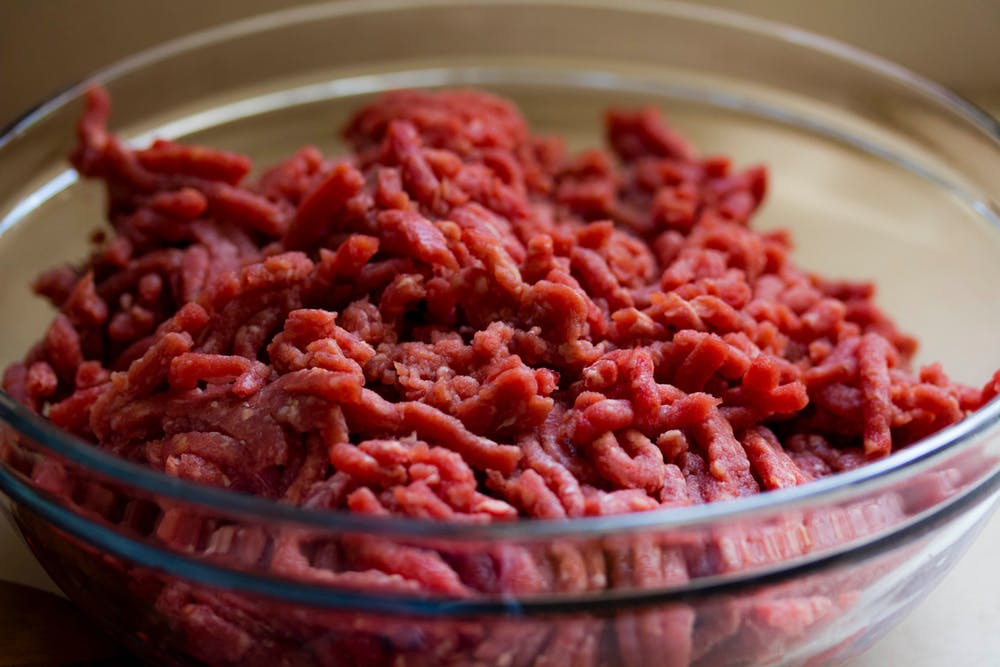
I personally like to dehydrate cooked, extra lean minced/ground beef for meals or make Jerky from topside (round) beef for a tasty, high protein snack
When dehydrating minced meat, you should first cook it as you normally would until it is JUST brown and break it down into small morsels to enable even drying. When this has been done, rinse the meat under hot water to get rid of any excess fat (yes, I know that’s what makes it tastier but we’ll get to that a bit later). Then you can start layering the mince out evenly on your dehydrator racks. I will mention here that you will need screens on your dehydrator racks to prevent the morsels falling through the racks. This goes for ALL finer food items (i.e. mixed frozen veggies, rice, pasta, etc)
Switch on the dehydrator at 71°C (160°F) and initially cook for 4 hours. After this, check your mince for dryness. We want it to have the consistency of ‘gravel’. Check as you go by squeezing any larger bits with your fingers to see if they are still soft in the middle. Continue until all dry
Timing is never going to be exactly the same but it should be somewhere between 5-10 hours
Always let food get back to near room temp before packaging. In saying that, don’t keep it out for too long though
Meat will keep for up to two weeks unrefrigerated in an airtight container or sealed bag and over 1 year if refrigerated. Even longer if frozen
Beef Jerky, I hear you say? Yes, I haven’t forgotten. Have a look at my favourite beef jerky recipes in my homemade jerky recipes article
PORK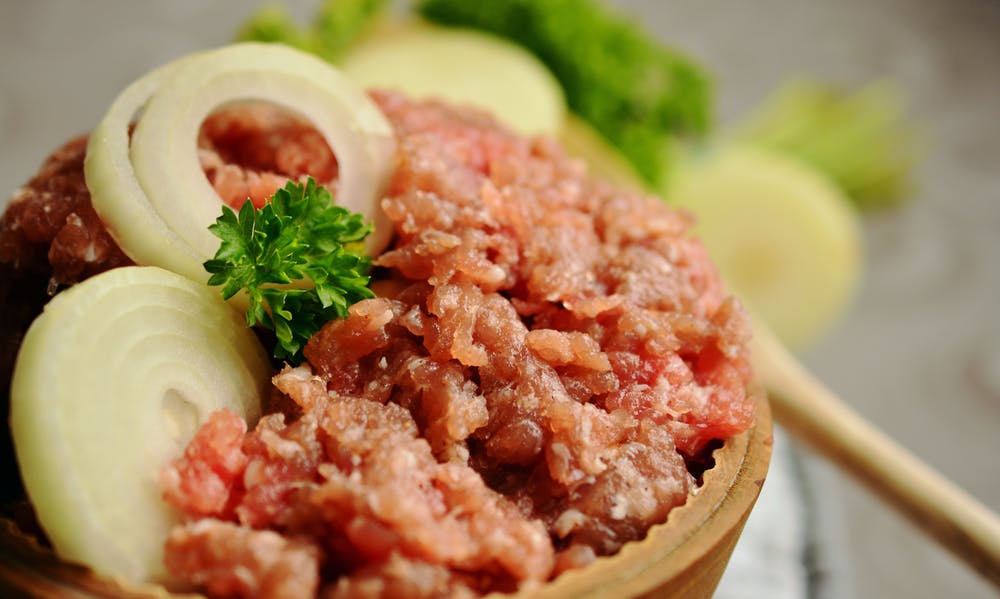
This is easy… pretty much the same instructions as beef. Same dehydrator temperature 71°C (160°F), same time just remember to use extra lean ground/minced pork. I’m sure your local butcher will even mince your preferred cut of pork for you if you ask them nicely 🙂
And the best part… Yes! you can do Pork jerky too!.. Just remember to use lean cuts with excess fat trimmed off. See the best one I have made yet…. homemade jerky recipes
CHICKEN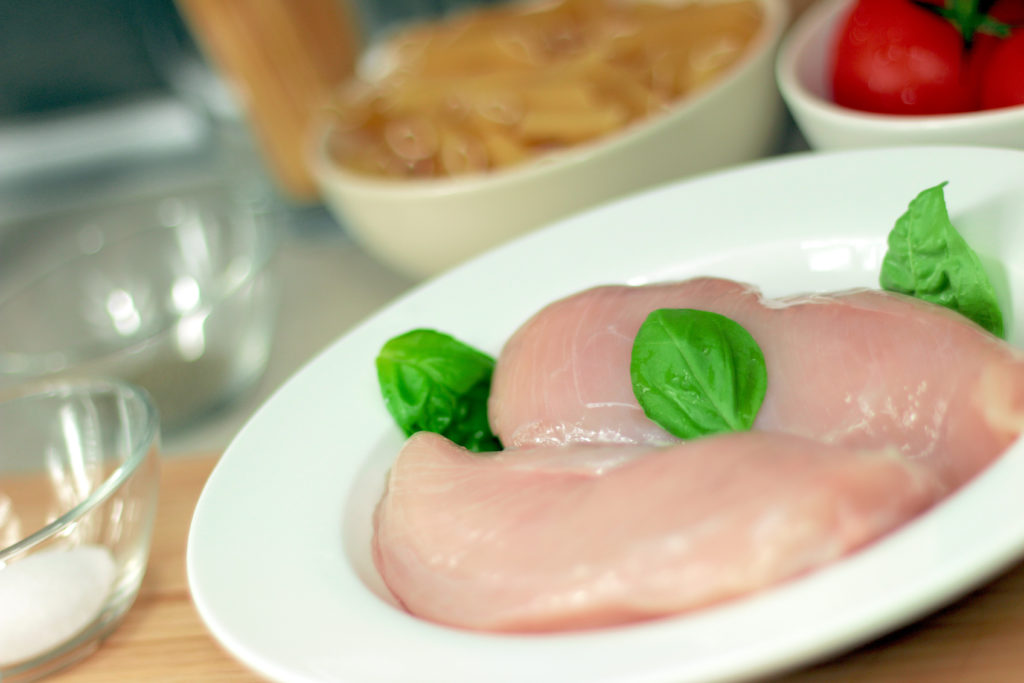
There are two ways that I do chicken for meals and the first and easiest way is to buy (preferably unflavoured and low fat) shredded chicken (tinned or bagged) and although this is convenient, you don’t know what quality of meat or preservatives and additives are in the food. The other way takes a little more work but using good quality chicken of your choosing is worth it I reckon
The process is as follows – Either boil, pressure-cook or steam the desired amount of chicken breast until the inner temperature is 77°C (approx.171°F) and it is no longer pink in the middle. This should take around 10-20 minutes depending on the cooking method. Place the chicken breast into a colander and rinse of any residual fat with hot water and then place on a clean chopping board. Let cool for a bit and then shred it as fine as possible using two forks. Layer it on your dehydrator trays (with screens) and dehydrate at approx. 71°C (160°F). Dehydrate for 4 hours then check your chicken, separating bits as you go. Your chicken will be ready when it snaps apart in your fingers and there are no “squishy bits” left. This could take up to 9 hours so check regularly after 4 hours
The other way of prepping chicken for dehydration is by using extra lean chicken mince in which case you would follow the same steps as dehydrating ground/minced beef
I also have a mean chicken jerky recipe for you to try out at homemade jerky recipes
FISH & SEAFOOD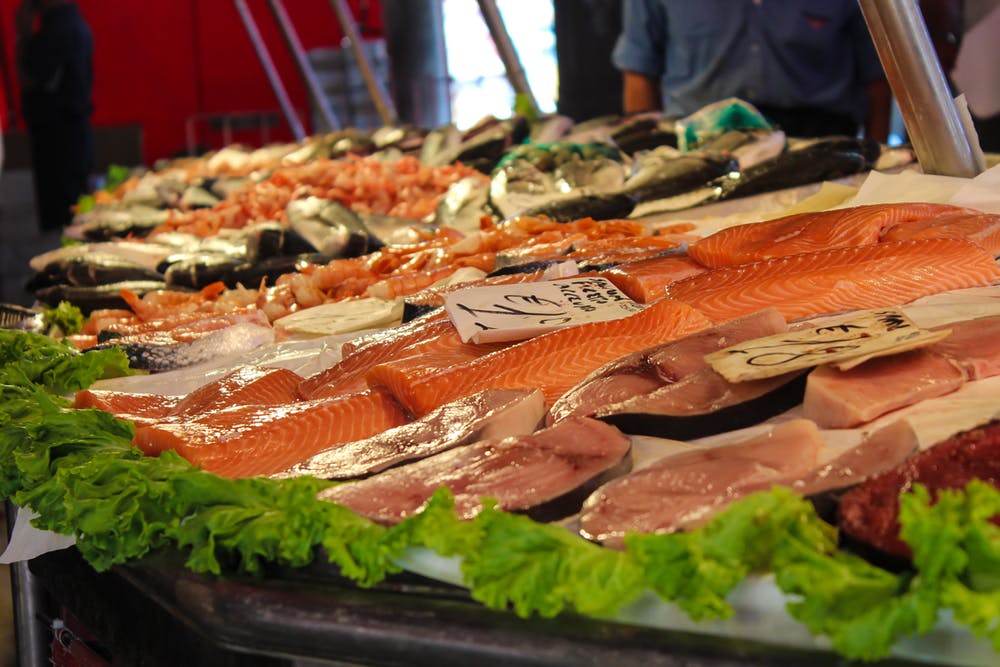
To be quite honest, I haven’t done much in the way of dehydrating fresh fish and other seafood but this much I can tell you…
- Buy fresh fish & seafood (if not your own fresh catch)
- Dehydrate your fish & seafood at no less than 63°C (145°F)
- You can dehydrate other seafood such as prawns, mussels, crabs, lobster, etc. (all with shells removed of course) as you would fish. Ensure they are fully dehydrated before storing
- There is such a thing as FISH JERKY and you’ll find my favourite recipe in homemade jerky recipes
Now, as far as dehydrating fish for meals. I like to use good quality canned TUNA IN SPRINGWATER and all I do is drain the water, put the tuna chunks into a bowl and break them into smaller pieces using a fork. When this is done I just spread the pieces evenly onto trays (with screens) and dehydrate at 71°C (160°F) and check on them three hours in, spreading them around more as they reduce in size. They’re usually ready in around 6 hours (give or take) but keep checking regularly after 3 hours
VEGETABLES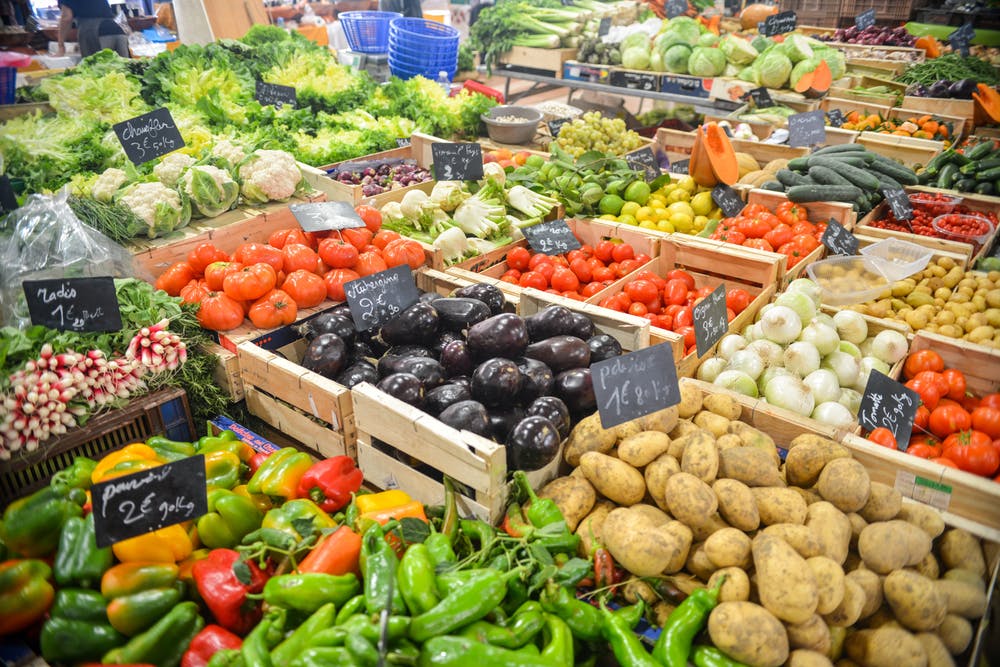
Fresh or frozen? its up to you but for the purposes of this article as we are basically covering foods to make handy meals so we won’t go into the intricacies of preparing different types of vegetable as they all differ. Instead, I’ll just focus on dehydrating mixed frozen veg (corn,pea,carrot, small cubed potato, etc. type mixes) to pop in our meals.
Spread out your frozen veggies (no need to thaw) on your dehydrator racks (with screens) and set your machine on around 57°C (135°F) and dehydrate for about 10 hours, remove the trays and give them a bit of a shimmy and a shake and return to dehydrator. They should be ready after 14-16 hours. Check your veggies every so often after the 10-hour mark
As with all dehydrated food, ensure that they are fully dried and at room temperature before packaging. If your veggies are properly dehydrated and stored they will “keep” for over 5 years unrefrigerated and many years beyond that if they are refrigerated or frozen
Unfortunately, this article only provides a very brief overview of dehydrating veggies as there are just too many variables for me to cover here but I do urge you to do a bit of ‘homework’ as there is a lot of information for dehydrating vegetables and also some great recipes online. Have fun with it!
FRUIT
Like veggies, different fruits require different preparations and whilst I would have to be pretty creative to add fruits into my meals (I’m obviously no chef) I have included fruit in this article to just give you a few pointers
Apples, Pears, Bananas and Peaches are awesome fruits for dehydrating and make great healthy snacks but they will turn brown and give the appearance of being spoiled when dehydrated without a very quick and easy process. So first you want to slice your fruits into about 6mm (1/4 inch) pieces and either soak or spray the pieces with 1 part lemon or lime juice to 4 parts water mix (1:4 ratio). You can skip this process if you don’t mind the way they look when dehydrated. It won’t spoil the taste, they just won’t look great
Keep your fruit slices as uniform as possible. Some products out there such as Mandolines, Spiral cutters, apple corer/peelers, etc will not only make preparation quicker and easier, they will provide even thickness
An ideal temperature for dehydrating your fruit is around 57°C (approx. 135°F) and check your fruit after about 10 hours but they can sometimes take more than twice this length of time to be ready. I know that seems a long time but the payoff is HEALTHY, CHEAP, TASTY, LONG LASTING 100% fruit snacks
The alternative method to dehydrating fruit pieces is to make delicious “fruit leathers” which some might even call fruit jerky. You’ll find how to do this in homemade jerky recipes
PASTA & RICE


Dehydrated pasta and rice are perfect for “bulking up” your meals or reconstitute and eat on their own with your favourite spices and sauces
The first step is to cook your rice or pasta (smaller types of pasta. i.e. macaroni, etc. are best for this) as you normally would, drain, rinse and let cool for a bit. Use screens on your dehydrator trays when doing pasta and also utilise what are commonly known as “fruit roll up trays” for rice (these are simply food safe plastic tray inserts). This will prevent the rice ending up everywhere. The recommended temp for pasta and rice is about 46°C (approx. 115°F) and check at around the 5 hour mark. They should be ready in around 8 hours but as you know by now, keep checking regularly after the first check
TIP: Remove your rice from your dehydrator after around 5 hours, put on a clean surface, cover with some baking paper and roll a rolling pin over it then put back into dehydrator and keep going. This will separate the rice in order to finish the process quicker and make storage easier
SAUCES, HERBS AND SPICES
SAUCES – Provided you don’t have sauces high in fat, they can easily be dehydrated to compliment your meals. It’s just a simple process of spreading your store bought or homemade sauce onto your greased (I use olive oil spray) “fruit roll up trays” and set your temperature at around 54°C (129°F) and dehydrate for around 15-20 hours depending on the consistency of the sauce. Once the sauce is ready (it  will flex a bit and then snap) it can be broken up into small pieces or turned into a powder prior to storing by using a food processor or coffee grinder and then stored in jars or bags. When using the finished product, the ‘sauciness’ of your reconstituted meals is up to you so you will have to experiment with it a bit but remember, a little goes a long way so start with small amounts
HERBS AND SPICES – Whilst it is possible to grow & dehydrate your own herbs I won’t get into that as it’s a whole other discussion and I’m sure there’s some very specialised subject matter that personally I don’t know much about so I’ll keep this bit short and sweet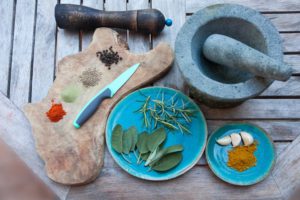
Whilst it is acceptable to mix herbs and spices (even sauces) to your food prior to dehydrating it, you’ll find that the food won’t ‘keep’ as long as it will with nothing added to it (whole food). This is completely fine if you are preparing food for an upcoming ‘adventure’ and you don’t need to store your food for an extended period
I personally only add my herbs, spices and sauces in the reconstitution stage after I decide what meal(s) I want to make. That way I have more control over how I utilise my dehydrated foods but the choice is yours. That’s the beauty of dehydrating and storing your food, freedom of choice
RECONSTITUTING YOUR FOOD
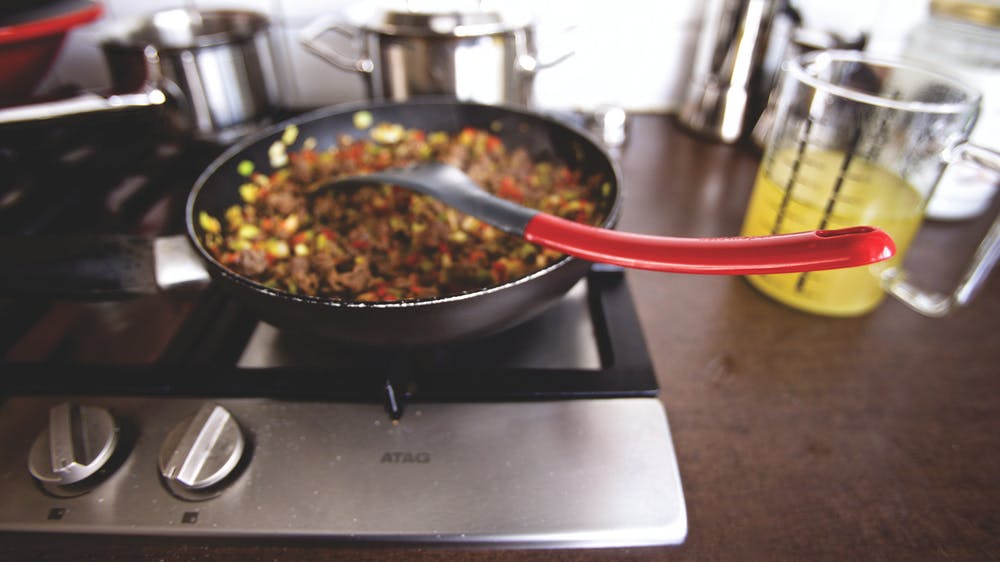
Now, comes the better part. With all your different food types dehydrated its time to put them together and EAT!
Please regard the following as a guide to reconstituting your food. As everyone has individual recipes (and taste buds) you may wish to ‘tweak’ following info
What I like to do with my dehydrated foods is make up complete ‘individual meals’ in zip lock bags for camping. For example, for 1 meal I’ll put around 50 grams of meat, 60 grams of mixed veg and 20 grams of pasta along with my preferred herbs, spices and/or sauce into a zip lock bag and write the type of meal it is on it with a permanent marker
Come time to cook (whether camping or at home), I’ll put my food in a small pot and add enough water to just cover the food and bring to a boil. This is where it changes a bit depending on if I’m at home or camping – If I’m home cooking I’ll reduce the heat and simmer for around 5 minutes giving it a few stirs. Now, remember the bit earlier about removing fats? This is where I’ll add about a tablespoon and a half of OLIVE OIL to compensate for the fats and oils removed from the food but that’s entirely up to you if you want to do that or not. Then I take off the heat and let cool for a few minutes before eating
If I’m camping, after my food boils I’ll place my pot on the outer edge of the coals (if I have a campfire) for about 5 minutes before letting cool and eating or if I’ve packed light and using my jetboil, I’ll turn of the heat for five minutes after boiling to absorb some more water and then give it a stir and heat to a simmer again, remove from heat, let cool for a bit and “DIG IN!”
That might seem like a bit to take in (its really just a lot of words) but once you do it you’ll see how quick and easy it really is
TIPS & HINTS
- Always let food return to room temperature before packaging and storage.
- Whatever you dehydrate will intensify the smell of that food so if you’re drying anything with a strong smell such as Ginger, Chilli or Garlic or the like, you may want to consider setting up your dehydrator outside of your house if possible
- Place an “oxygen absorber” in your jars, containers, zip lock and vacuum sealed bags after putting in your food as this will mitigate the risk of moisture
- Write or label bags and containers with the contents, weight and date stored
- Store dehydrated food away from direct sunlight, preferably in a cool, dark place
- Refrigerate or freeze for long term storage
- Store your food in vacuum sealed bags if storing in your freezer as this will prevent “freezer burn”
- It’s better to over dehydrate than under dehydrate. Remember the purpose is to remove water content in order to preserve the food. All time frames given below are just a guide and it is recommended that you check your foods periodically to ensure they are well and truly dried. In some instances food can take up to 40 hours to fully dehydrate (usually this is where thicker meat strips are involved). You can’t have a “set and forget” mentality when it comes to dehydrating but in a short while you will become accustomed to how long certain foods take to dehydrate
- When using your ‘screens’ or ‘fruit roll up sheets’, it is a good idea to give them a light spray with olive oil spray to prevent foods from sticking to them
- Just about any meal you prepare at home, you can do a dehydrated version of it. Be creative
- When eating dehydrated food dry (not reconstituted) such as jerky, remember it has had all of its moisture removed so it will absorb moisture from your body so. Be mindful to stay well hydrated
HAVE A GO!
I hope this article has tempted you to give dehydrated meals a go. I have been doing it for ages now and I am still interested in finding new techniques and creating new recipes. If you’re new to all of this then I would suggest you start off small with a bit of equipment and when ‘the bug’ does bite you, you can then step it up a notch
Until next time…

0 Comments